Silicone Compression Molding Complete Guide
This guide provides essential information on silicone compression molding.
- Materials: Understand the types of silicone and their impact on the molding process.
- Mold Design: Focus on key elements like draft angles, parting lines, and venting to optimize mold efficiency.
- Process: Recognize how heat, pressure, and time influence the final product.
- Troubleshooting: Identify common issues and their solutions to improve quality and consistency.
- Preparation: Learn the correct methods for mixing and degassing silicone.
Get Expert Silicone Compression Molding Services
At Dabojin Custom Silicone Product Manufacturer, we specialize in custom silicone solutions for various industries.
Need high-quality compression-molded silicone parts? Our Silicone Compression Molding Expert Services provide:
- ✔ Custom mold design & prototyping
- ✔ Scalable production for small to large orders
- ✔ High-quality silicone materials & strict quality control
👉 Request a Quote and start your project today!

Understanding Silicone Compression Molding
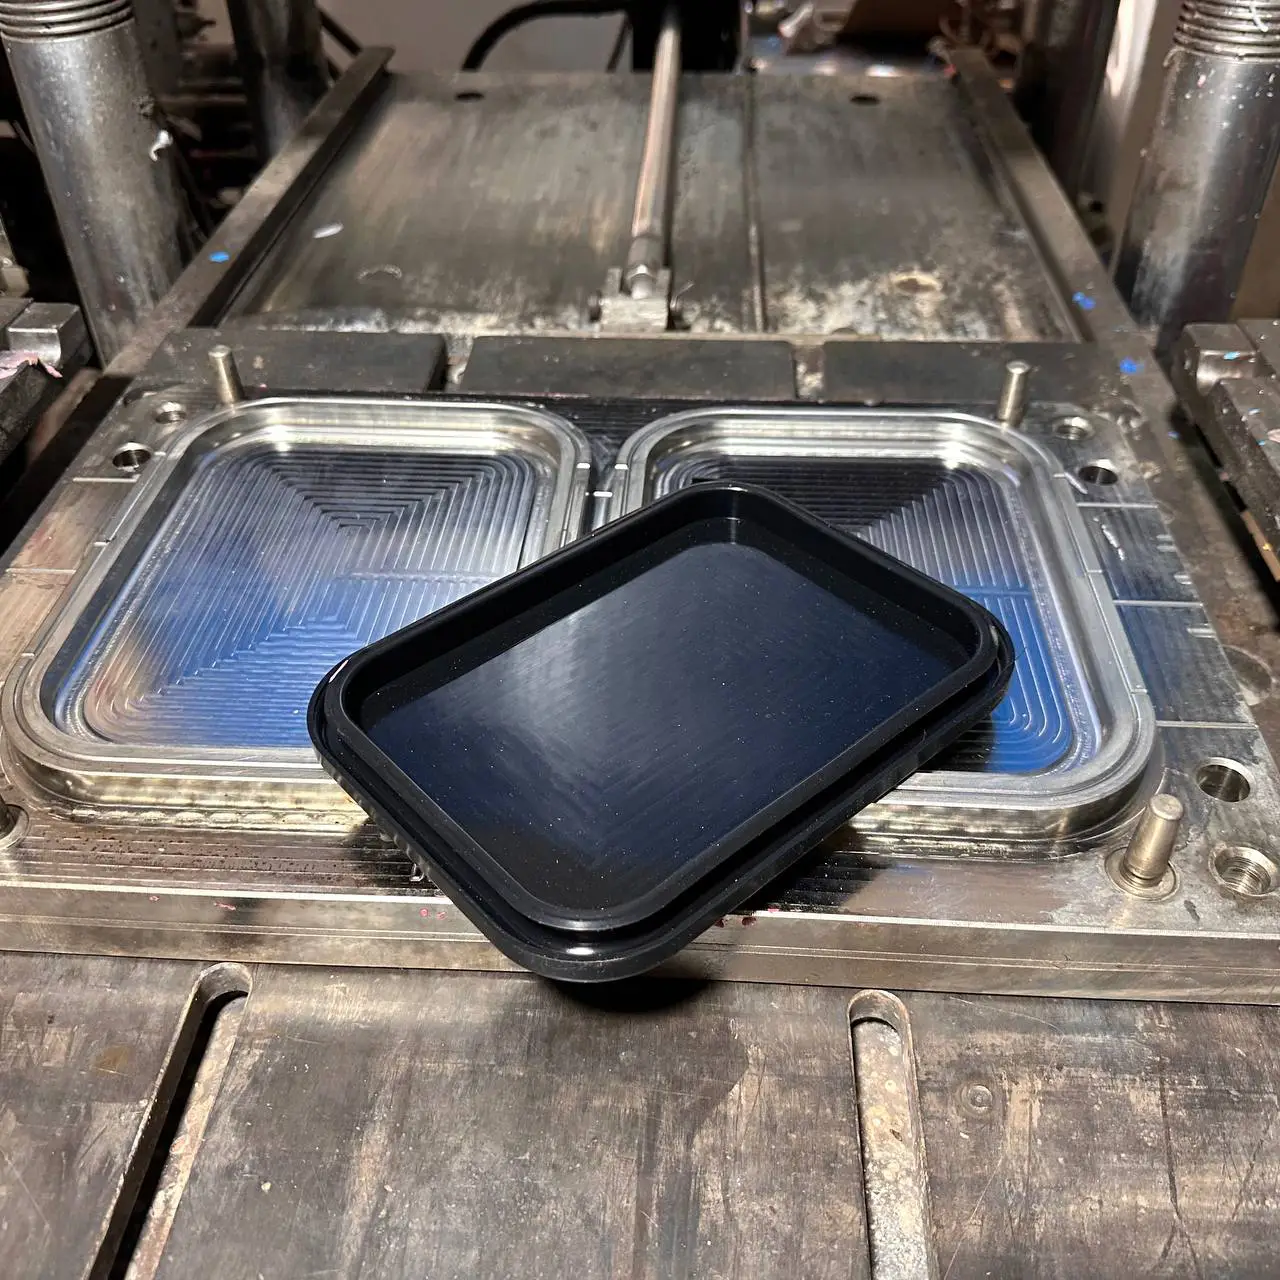
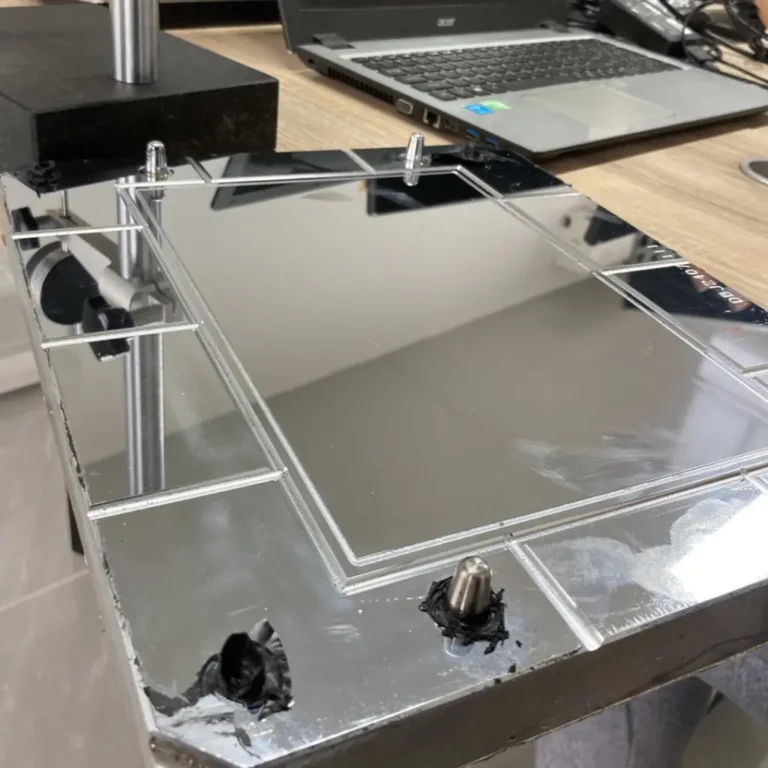
Compression molding is a manufacturing technique where silicone material is placed onto a mold cavity. The mold is CNC-machined to perfectly match the product design, comprising two distinct components: a base plate and an elevated profile. CNC Mold Machining (Tooling and mold preparation) Service page.
The product design is sliced into two separate components. Compression molding machines hold two molds, with the silicone material placed between them. When the mold on the machine is compressed using heat and pressure, the silicone shapes onto the product. This process results in visible flash lines on the surface of the molded product. While these lines may be smaller than 0.05 mm, they are a common characteristic of compression molding.
The flash line itself is often caused by incomplete filling of the mold or uneven pressure distribution within it. However, with proper design and execution, compression molding can also produce overmolded products. This method involves combining multiple layers of different materials into a single molding process.
When combining compression molding with overmolding Service page.

The Properties of Silicone for Compression Molding: An Overview
To achieve quality in silicone manufacturing, it’s important to understand the properties of silicone. Silicone is a standout material, known for its heat resistance. It maintains its shape and strength under extreme conditions, such as in hot kitchens or high-pressure environments. Its durability against wear, UV rays, and extreme temperatures makes it ideal for compression molding applications.
Different Types of Silicone Used in Compression Molding
In compression molding, several types of silicone materials are used. Platinum-cured silicone, for example, is perfect for quick setting in food and medical products. High-clear silicone is used in LED products, while some silicones are flame-resistant, ideal for automotive and aerospace industries. By selecting the right silicone type, manufacturers ensure the highest quality end products.
Factors Influencing Silicone Production in Compression Molding
The type of silicone you choose significantly affects the molding process. Softness, stretchability, curing time, and additives like fire resistance all influence the shaping, curing, and end-product quality. Understanding these factors ensures you select the right silicone for the job and optimize the molding process.
Silicone Compression Molding Process Parameters
Optimal Temperature Range
For silicone, the optimal molding temperature ranges between 160°C to 232°C. This range ensures proper flow and curing without degrading the material.
Too Low (160°C): If the temperature is below this range, the silicone may not flow into all parts of the mold. Incomplete filling can occur, leading to poor mechanical properties. High adhesive materials can also cause shape and surface defects in the mold.
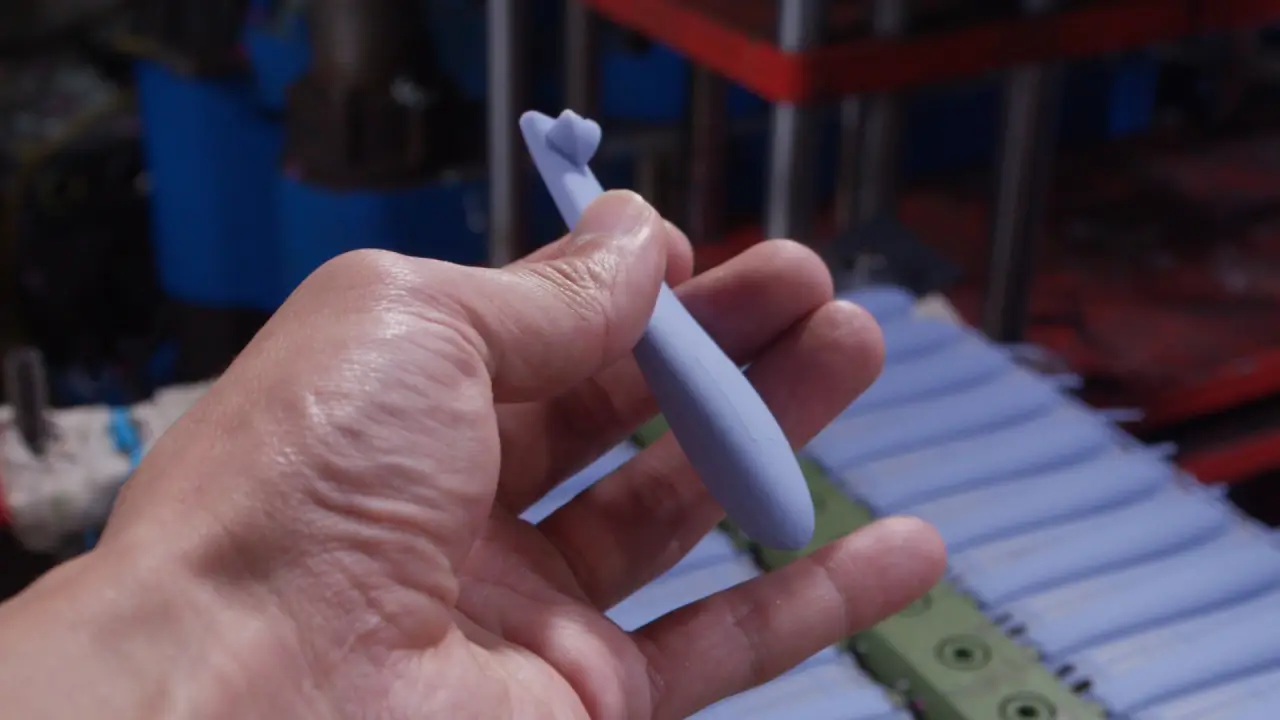
Defective Silicone Product due to Insufficient Compression
Too High (232°C): If the temperature exceeds this range, the silicone can burn or discolor. Overheating can result in premature cross-linking or vulcanization, leading to distorted shapes, weaker parts, or material degradation. The specific temperature within this range can vary, depending on:
- The type of silicone,
- The intended application,
- And the desired properties for the final product.
Manufacturers often need to conduct tests to determine the optimal temperature for a new material or mold design. In summary, silicone molds well between 160°C and 232°C. Too cold, it won’t fill the mold; too hot, it burns. The right temperature varies with the silicone type, use, and desired product quality.
Overheated Silicone Product with Burn and Distortion Damage
Silicone Compression Molding Pressure Application
In our example case: Plasticity, in the context of silicone materials, refers to the material’s ability to deform under pressure.
Therefore, when considering a silicone material with a plasticity of 160 for compression molding, the amount of pressure applied is critical. Ensuring that the material flows and the final product meets the specifications is crucial.
Key Considerations for Pressure Application
Material Flow Properties: With a plasticity of 160, the silicone is likely to have a certain stiffness and viscosity. To achieve the same flow in intricate mold areas, you need higher pressure than with softer silicone, like 330.
Mold Design and Complexity
The specific design of the mold, including its complexity, size, and the fineness of details, will impact how much pressure is needed. It’s important to use enough pressure for stiffer materials to fill the mold without causing damage or excess material. Keep in mind: Molds can be prone to breaking, and excessive pressure can lead to costly repairs.
Part Thickness and Geometry
Thicker parts need extra pressure to fill before the silicone starts to harden. However, too much pressure on thinner or delicate parts can cause material distortion. The overall geometry of the part will guide the necessary adjustments in pressure.
Impact of Pressure Variation
Too Low Pressure
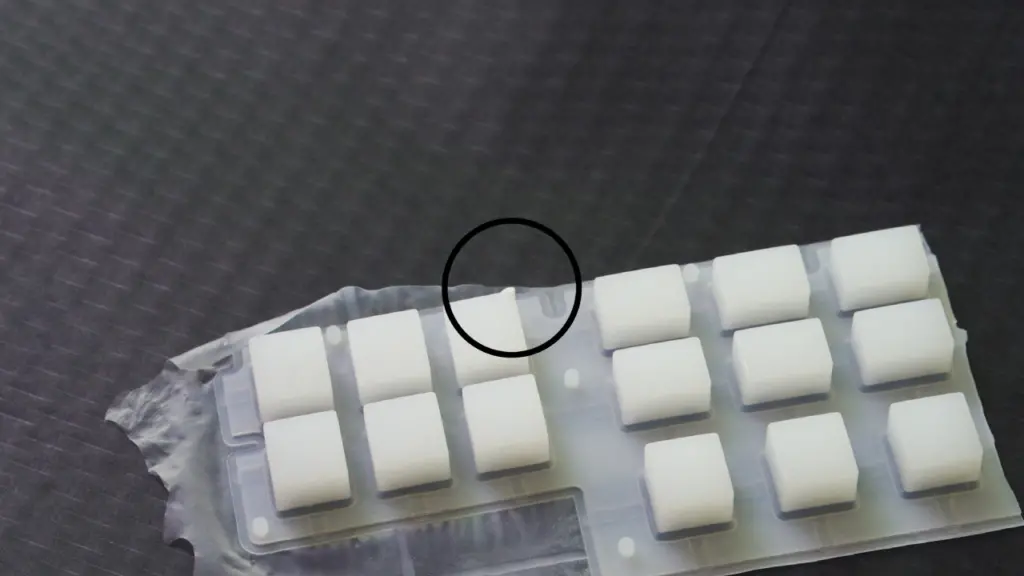
If the pressure is too low, the silicone won’t fill the mold, leaving parts incomplete. Stiffer silicone worsens the situation, missing fine details and resulting in improper shaping.
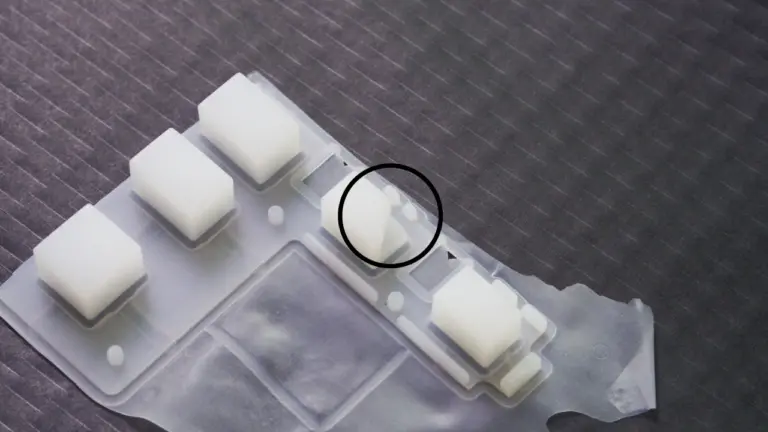
Incomplete Silicone Keyboard due to Low Pressure in Molding
Too High Pressure
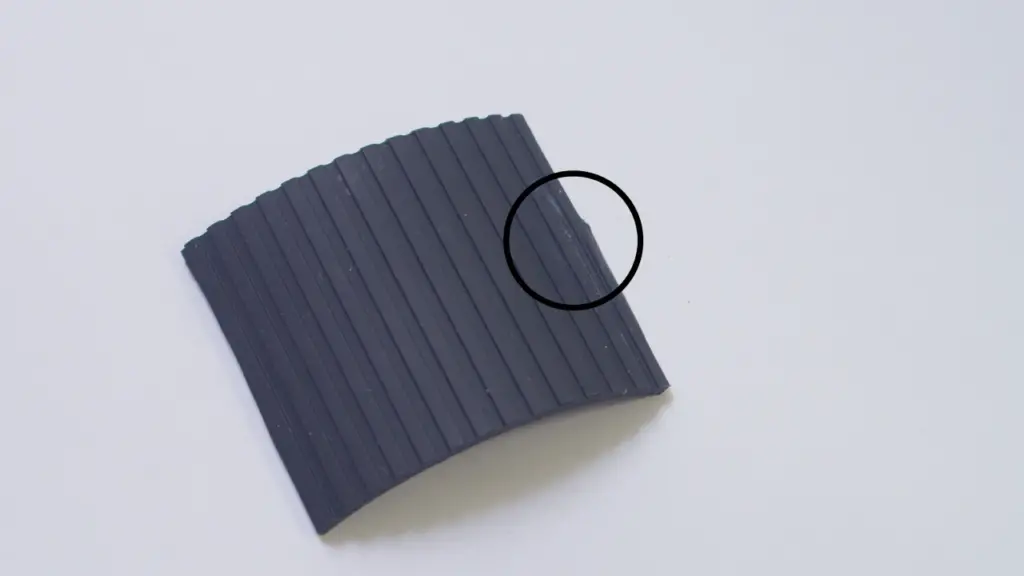
If the pressure is too high, silicone squeezes out, creating flash. This requires trimming and affects precision. It also stresses the mold, potentially causing wear or damage.
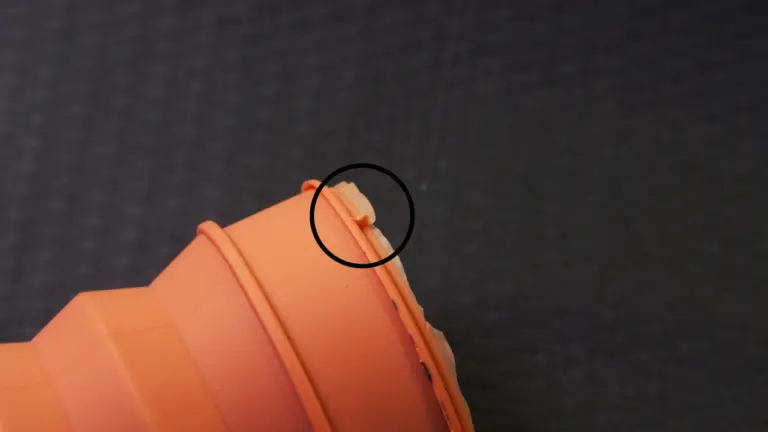
Excess Flash on Silicone Product Due to High Pressure
Right Pressure is Key
The right pressure fills the mold, cures evenly, and produces consistent parts. Wrong settings can cause defects such as incomplete filling, trapped air, and uneven surfaces. Balance is crucial for silicone to fill properly without causing issues.
In practice, finding the right settings requires testing and adjustments. Consider silicone’s plasticity, mold design, and the final product’s needs. Start with standard pressure for the silicone type, then adjust based on trial results. The goal is to achieve consistent, high-quality output that meets all requirements.
Operating the Compression Molding Process in 5 Steps
Setting up the mold right is key for good production in compression molding. Here are the main steps to get the mold ready, aligned, and secure:
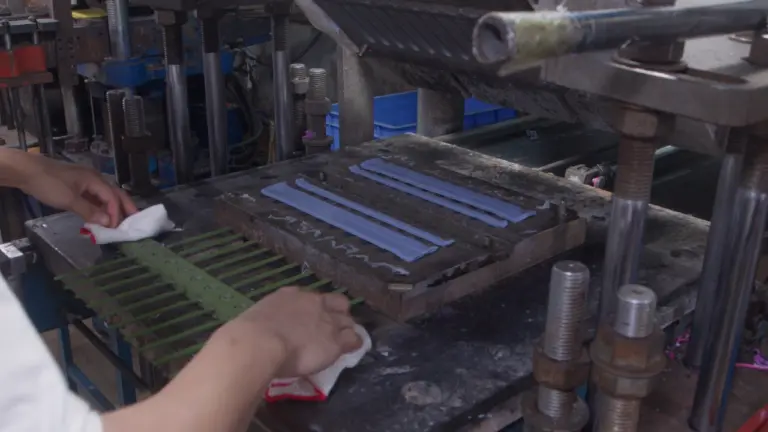
1. Clean the Mold
Clean the mold well. Remove all old residue and dirt. This includes the mold surfaces, vents, and any hidden parts. Some molds might need special cleaners. Note: Leaving any scratch on mold will result in scratches on the product.
2. Apply Mold Release
Use the right mold release so the silicone doesn’t stick. The choice depends on the silicone and mold type. Be careful with release agents, as some may not work well with silicone. Ensure the agent chosen is compatible with silicone’s properties.
3. Check for Damage
Look over the mold for any damage or wear that might ruin the final product. Make sure everything fits tight and right.
4. Assemble the Mold
Put all parts of the mold together. This includes any slides, inserts, or cores.
5. Heat the Mold
Warm up the mold to the right temperature for the silicone. This helps cure faster and evenly.
Ensuring Correct Mold Alignment and Security in 5 Steps
Follow these five essential steps to ensure your mold is correctly aligned and secure, minimizing defects and improving the quality of your silicone molding process:
1. Alignment Checks
Check the mold halves align precisely. Incorrect alignment can lead to defects such as flash or poor filling, which affect the final product quality.
2. Clamping and Securing
Clamp the mold tightly in the press. The force should be sufficient to keep the mold closed during compression but not cause any damage.
3. Double-checking Tightness and Positioning
After setting up, and periodically during production, verify that the bolts and clamps are secure to prevent misalignment or mold damage.
4. Safety Measures
Ensure all safety guards are in place and adhere to safety standards to protect workers and equipment from potential damage during the molding process.
5. Test Run
Conduct a test run to identify any potential issues before full production begins. Adjust settings as needed to ensure high-quality output.
By following these steps and ensuring the mold is properly maintained, you can minimize defects, enhance safety, and produce high-quality silicone parts. Each step is crucial for maintaining the precision that silicone molding requires.
Guidelines for Silicone Material Placement and Mold Closure
Pre-forming the Silicone Material
Measure and cut the silicone precisely to minimize waste and ensure complete filling. Shape it properly for easy placement and even distribution within the mold cavity.
Placing Silicone in the Mold
Place the silicone evenly within the mold cavity. Ensure it is centered for uniform filling and lay it carefully to prevent the formation of air pockets.
Mold Closure
Close the mold gently and securely. Ensure proper alignment, checking that the silicone spreads evenly across all sections of the mold, especially if it is a multi-section mold.
Heat and Pressure Application
- Understand Material Specifications: Review the datasheet for the silicone you’re using, focusing on temperature and pressure ranges. Understand its viscosity, curing characteristics, and how it reacts to heat and pressure.
- Consider Product Specifications: Take into account the part’s design, size, and complexity to determine the appropriate settings. Different designs require unique conditions.
- Start with Baseline Settings: Begin with the manufacturer’s recommended settings, then adjust based on your mold design and material properties.
- Adjust Based on Testing and Experience: After testing initial parts, adjust settings as needed. Look for signs of improper curing or defects, and refine the settings accordingly.
- Check and Control Temperature and Pressure: Ensure the entire mold is evenly heated to the correct temperature and maintains consistent pressure.
Optimizing Cooling and Ejection in Compression Molding
- Cooling Time: The cooling time varies based on part thickness, shape, and silicone type. Ensure the part is fully solidified and safe to handle. Remember, a freshly molded silicone product tends to be larger until it cools down.
- Cooling Method: Use either natural or active cooling methods. Ensure uniform cooling across the part to prevent warping or uneven curing.
- Ejection Mechanism: Align and maintain the ejection system to ensure gentle part removal without causing damage.
- Air Pressure Pistol: Use an air pressure pistol to apply evenly distributed, gentle air pressure for part ejection.
- Handling: Use appropriate tools or gloves when handling parts. Make sure the parts have cooled sufficiently to retain their shape. Inspect for defects immediately after ejection and adjust processes as needed to prevent damage.
- Prevent Sticking: Apply a release agent to avoid the silicone part sticking to the mold, making ejection smoother.
- Training: Provide thorough training for personnel to ensure proper ejection and handling techniques, reducing the risk of damage during the process.
Quick Check: Common Problems and Solutions in Compression Molding
Causes of Blowholes in Compressed Molded Parts
- Low mold temperature
- Insufficient vulcanization time
- Poor exhaust
- Material issues
- Material discharge issues
- Insufficient pressure
Countermeasures for Blowhole Formation
- Adjust mold temperature
- Extend vulcanization time
- Ensure vacuum requirements are met
- Confirm material specifications
- Improve material discharge position
- Adjust pressure
Why Are You Experiencing Material Shortages?
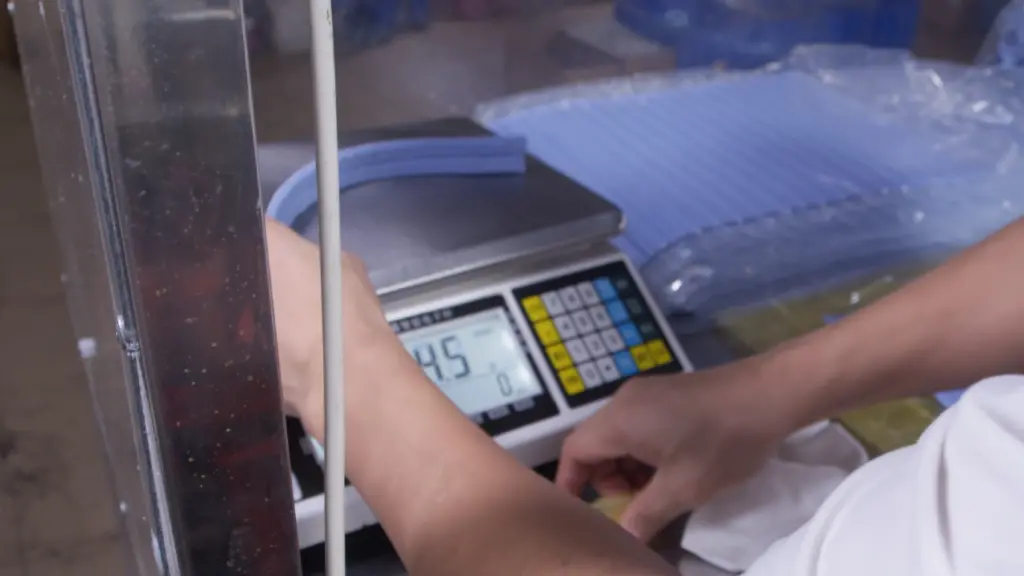
- Insufficient material weight
- Improper material discharge position
- Uneven distribution of rubber fabric
- Insufficient pressure
- Excessive temperature
- Expired or poor-flowing material
- Damage to mold padding
- Inappropriate material thickness
Countermeasures for Material Shortages
- Weigh materials properly
- Accurately discharge materials
- Distribute rubber evenly
- Increase pressure
- Lower temperature
- Return to compounding
- Replace mold padding
- Adjust material thickness for deeper keying
Causes of Translucent Appearance in Silicone Compression Molding
- Excessive weight of material
- Improper material discharge position
Countermeasures for Translucent Appearance
- Reduce and adjust material weight
- Adjust discharge position and method
Causes of Rough Surface on Silicone Products
- Excessive temperature
- Prolonged external operation time
- Excessive exhaust frequency
- Excessive curing agent usage
Countermeasures for Rough Surface
- Lower mold temperature
- Shorten external operation time
- Adjust exhaust methods
- Reduce curing agent amount
Causes of Cracking in Silicone Products
- High temperature
- Improper use of demolding water
- Incorrect blowing method
- Mold issues
- Excessive material thickness or poor stretch resistance
Countermeasures for Cracking
- Lower mold temperature
- Follow demolding guidelines; sandblast if necessary
- Improve blowing method
- Repair mold
- Careful with material handling